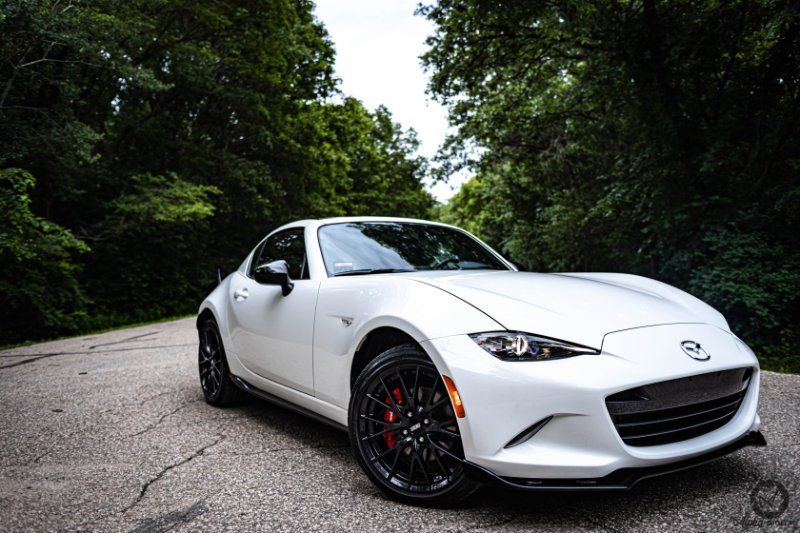

What Happens Before a Ceramic Coating Goes On Your Car
The Work You Don't See Matters Most
Here's something that surprises most people researching ceramic coating for the first time: the coating itself takes the least amount of time. The real work happens before anyone opens that bottle. Understanding how to prepare your car for ceramic coating explains why this service costs what it does and why cutting corners on prep leads to disappointing results.
A ceramic coating bonds to whatever is underneath it. If your paint has contamination, swirl marks, or residue on the surface, the coating locks all of that in. No amount of coating quality fixes poor preparation. The prep work determines whether your coating performs well for years or starts failing within months.
At Kleen Whips Auto Detailing in Bel Air, we spend more time on preparation than on the coating application itself. Let's walk through what actually happens before coating touches your paint.
Step One: A Wash That's More Than a Wash
The process starts with cleaning, but this isn't a car wash. It's systematic decontamination.
Initial Rinse and Hand Wash
Loose dirt comes off first. A thorough rinse removes surface debris before any contact with the paint. Then comes a proper hand wash using techniques designed to lift contamination rather than drag it across the surface.
This initial wash removes dirt, dust, road film, and surface grime. But your paint isn't actually clean yet. Not by coating standards. Wheels, tires, and exterior trim all get addressed separately with different products and techniques.
Sands of Time
Button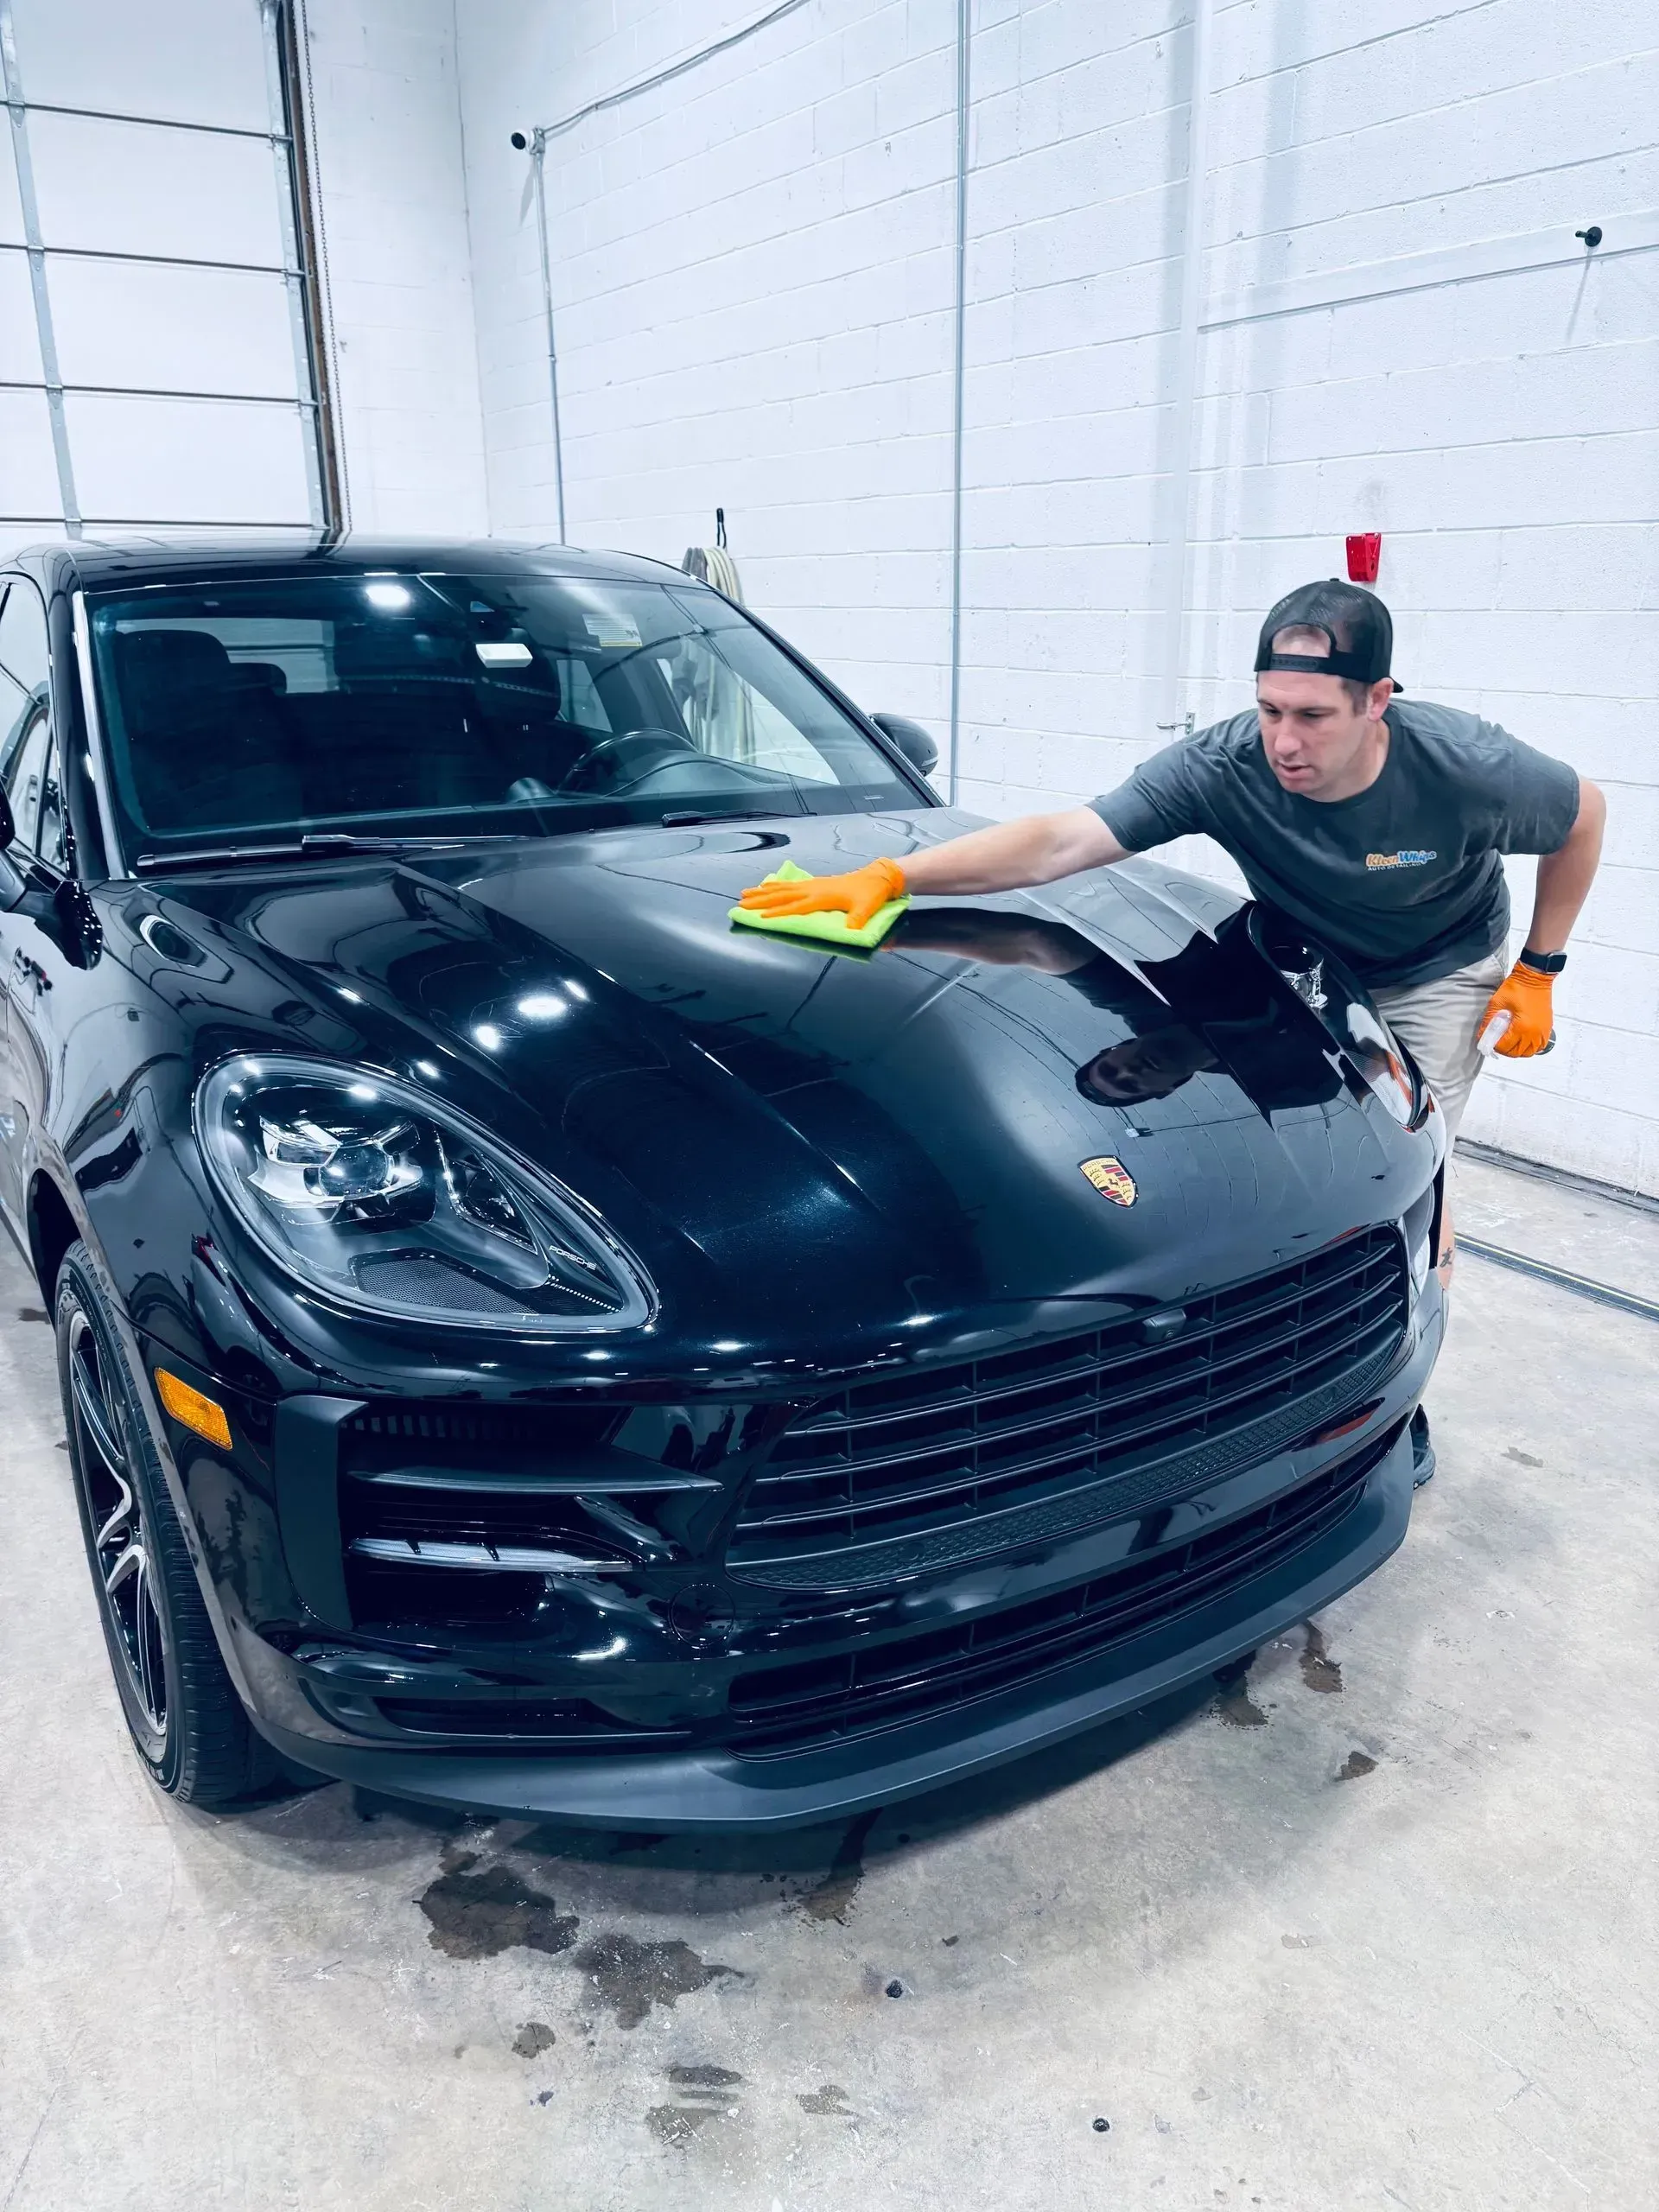
Step Two: Decontamination Takes It Further
After washing, your paint looks clean but still has bonded contamination stuck to it. This is invisible to the eye but critical for coating adhesion.
Chemical Decontamination
Specialized products break down iron particles, industrial fallout, and bonded contaminants that washing cannot touch. These particles embed in your clear coat from brake dust, rail dust, and environmental exposure.
Mechanical Decontamination
A clay treatment physically removes remaining contamination. After claying, your paint feels noticeably different. That smooth feel indicates a surface ready for correction and coating.
Skip decontamination and you're coating over contamination. The coating may look fine initially but won't bond properly to the paint itself.
Step Three: Paint Correction Makes or Breaks Results
This is where most of the time goes. Paint correction addresses the imperfections in your clear coat before coating locks them in permanently.
Why Correction Matters
Every vehicle, even brand new ones, has some level of surface imperfection. Swirl marks from washing, light marring from contact, and haze from environmental exposure all affect how your paint looks. A coating amplifies whatever is underneath it. Apply coating over swirl marks and you get glossy swirl marks that are now harder to remove.
The Correction Process
Machine polishing uses abrasive compounds and specialized pads to level the clear coat. This removes or reduces imperfections by taking off a tiny amount of material to create a uniform surface. The level of correction depends on your paint's condition and your expectations.
Light correction addresses minor swirl marks and haze. Multi-stage correction tackles deeper defects and more significant marring. Your paint correction needs depend on your specific vehicle's history and current condition.
New Cars Need Correction Too
This surprises many customers. New vehicles often have defects from dealer prep, transport, and handling before you took delivery. That plastic protection film gets removed, the car gets washed by people who don't detail professionally, and minor damage accumulates. Coating a new car without at least inspecting for defects means potentially locking in damage from day one.
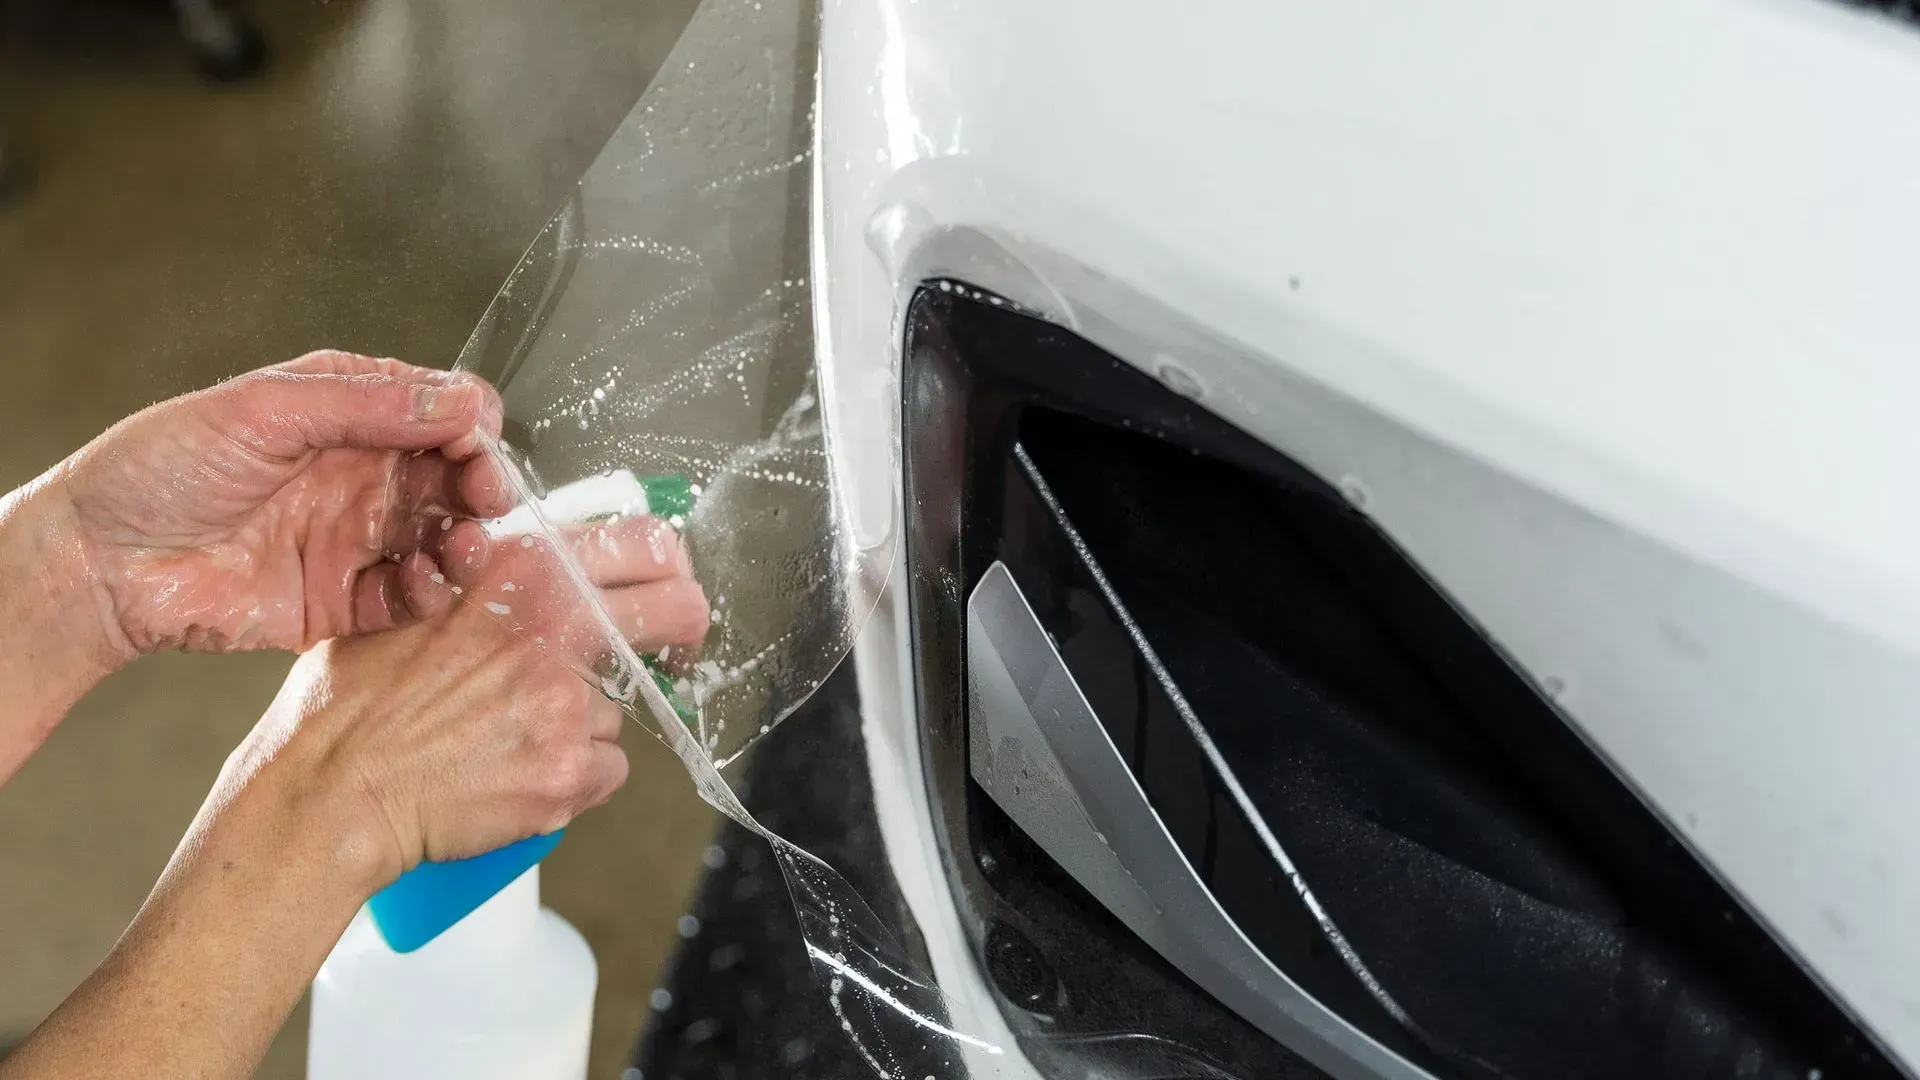
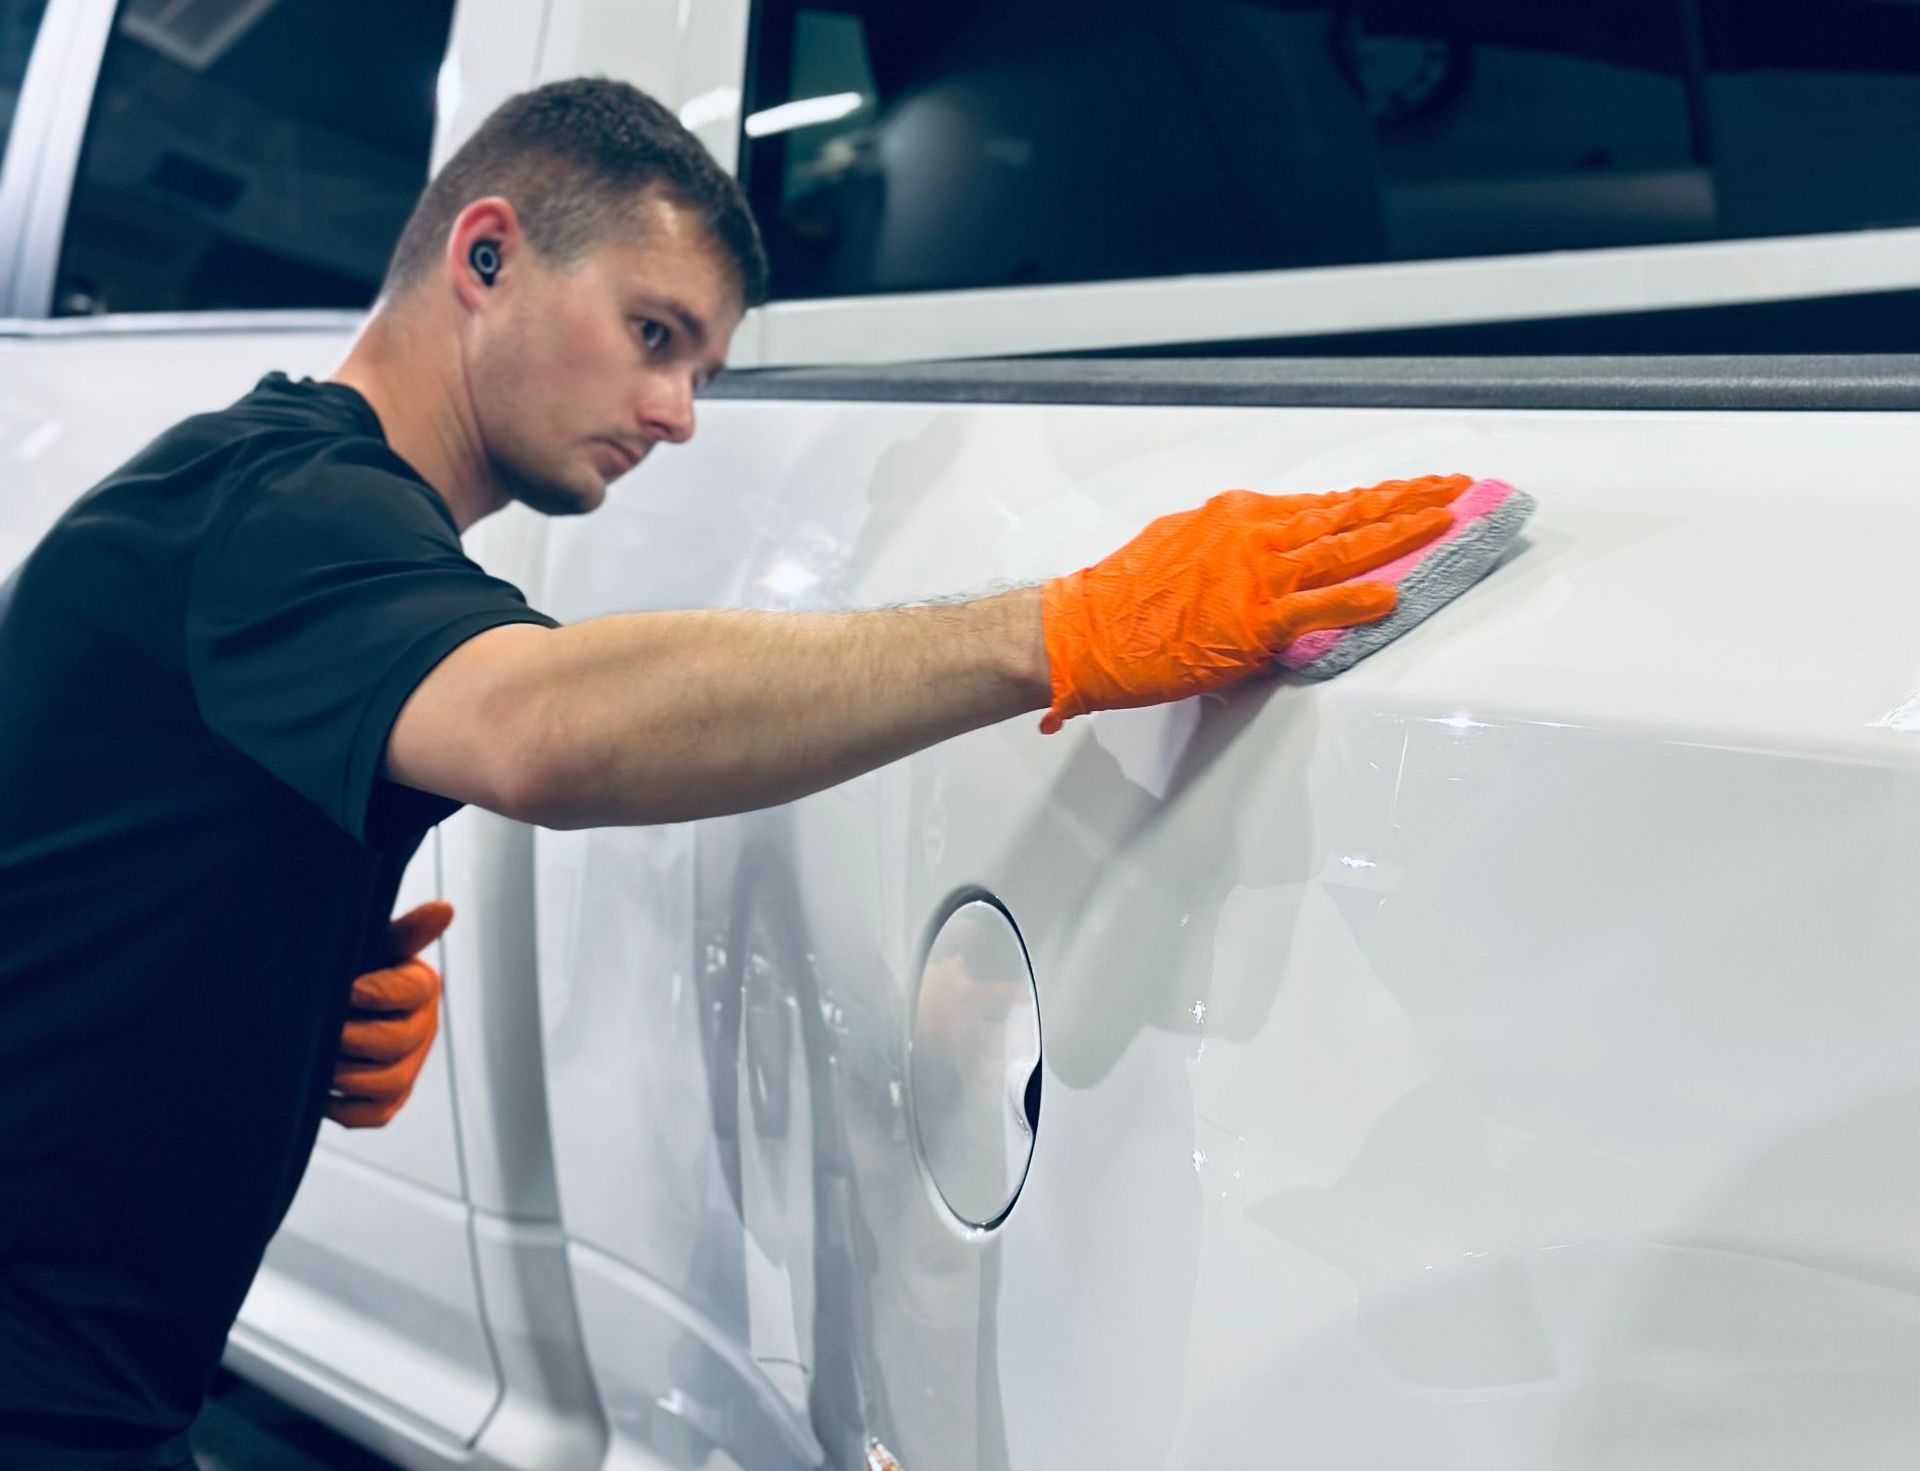
Step Four: Panel Wipe Removes Everything Else
After correction, oils and residue from polishing remain on the paint. These must come off completely before coating application.
Panel wipe products contain solvents that break down and remove polish oils without leaving residue. This ensures the coating bonds directly to the clear coat, not to polish residue.
Skip this step and your coating may look perfect initially but fail prematurely because it bonded to oil rather than paint. Each step builds on the last, and missing any single step compromises the final result.
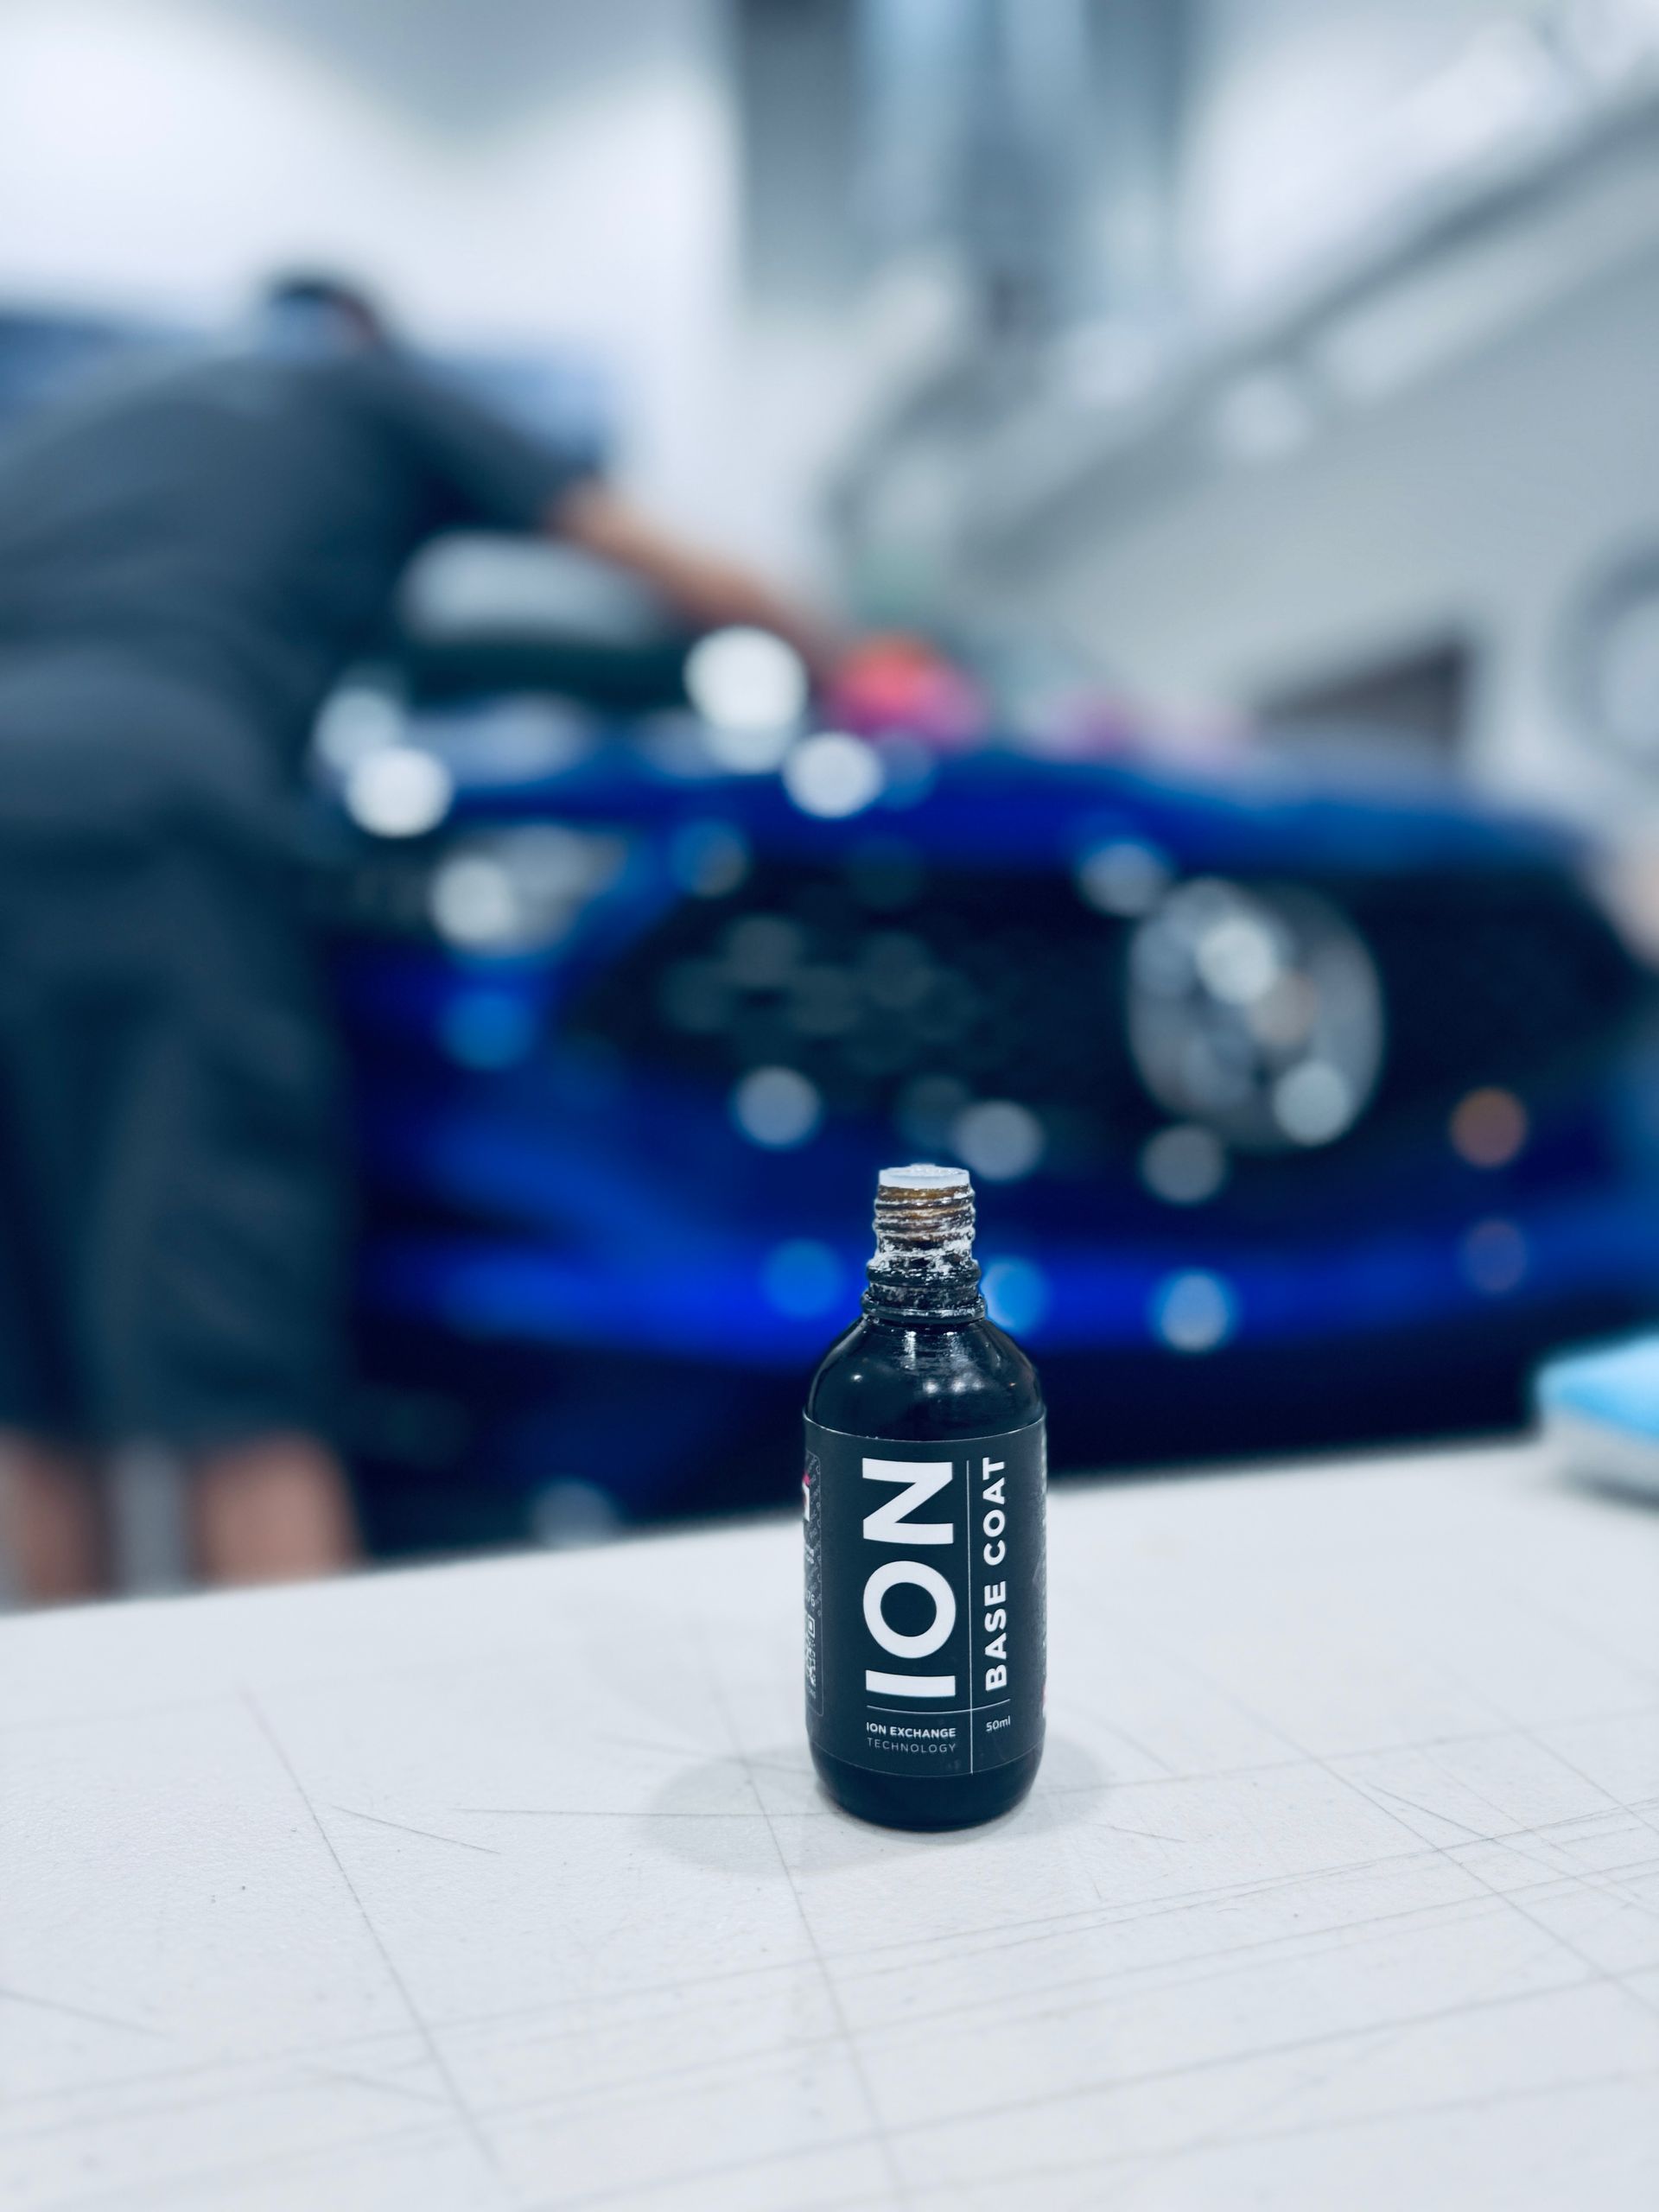
Step Five: Controlled Environment for Application
Ceramic coating application requires specific conditions. Temperature, humidity, and air quality all affect how the coating cures and bonds.
Temperature and Humidity
Coatings have optimal application ranges. Too cold and the coating doesn't cure properly. Too hot and it flashes off before bonding. High humidity interferes with the chemical reaction.
Clean Air and Lighting
Dust settling on wet coating creates defects. Proper shops minimize airborne contamination during application. Professional lighting reveals defects that normal light misses, ensuring proper inspection before, during, and after coating.
Why DIY Prep Falls Short
You can buy ceramic coating products designed for consumer application. The coating itself isn't the problem. The preparation is where DIY approaches struggle.
Without machine polishing equipment and experience, you cannot achieve professional surface quality. Without proper decontamination products, you leave bonded contamination under the coating. Without a controlled environment, you risk contamination during application. The coating does its job. The prep determines whether that job lasts.
What Proper Prep Actually Delivers
When prep is done correctly, the coating bonds directly to clean, corrected clear coat. The surface underneath is smooth, defect-free, and completely clean. This foundation allows the coating to perform as designed throughout its lifespan.
You get better gloss because the underlying surface is properly corrected. You get better durability because the coating bonds to paint, not contamination. You get the results that make
ceramic coating worth the investment.
The Small Step That Takes the Most Time
The actual coating application takes a fraction of the total time. The hours go into washing, decontaminating, correcting, and preparing a surface worthy of coating. You're paying for the expertise and time required to prepare your paint so that coating can perform as designed.
Considering ceramic coating? Contact Kleen Whips Auto Detailing to discuss what your vehicle needs. We'll assess your paint's condition and explain what prep work is required.
Frequently Asked Questions
How long does ceramic coating prep take?
Preparation time varies significantly based on your vehicle's size and condition. A well-maintained vehicle with minimal defects requires less correction time than one with years of swirl marks and environmental damage. The prep process typically takes longer than the coating application itself. When you book service, ask for an estimate based on a visual inspection of your specific vehicle.
Can I skip paint correction if my car is new?
New vehicles often need at least inspection and light correction. Dealer prep, transport, and handling frequently leave minor defects that should be addressed before coating. Even if your new car looks perfect, bonded contamination from environmental exposure exists within days of purchase. Professional inspection determines whether correction is necessary for your specific situation.
Why does professional prep cost more than DIY coating?
Professional prep requires machine polishing equipment, multiple specialized products, a controlled environment, and hours of skilled labor. The coating product itself represents a small portion of the total investment. When comparing DIY coating costs to professional service costs, you're comparing product price to complete surface preparation plus product plus proper application conditions. The outcomes differ accordingly.